


Direct-To-Film (DTF) printing is an innovative approach allowing designers to create intricate artwork directly on special film for diverse applications like apparel, signage, and home decor. To prepare designs, use SVG, JPEG, or PNG formats, maintain 300 DPI resolution, set CMYK color mode, and manage transparency. Selecting the right film type based on project needs is vital. Setting up a dedicated workspace and calibrating printers with high-resolution capabilities ensures accurate results. The process involves precise alignment, test runs, layer-by-layer ink application, and post-printing steps like curing, cutting, and transferring for optimal output.
“Discover the art of DTF (Direct-To-Film) printing—a game-changing process for creating vibrant, high-quality transfers. This comprehensive guide explores every step from understanding the fundamentals of DTF technology to mastering file preparation and film selection. Learn how to set up your workspace and printer for optimal results, then dive into the printing process itself. Finally, uncover crucial post-printing techniques, including curing, cutting, and applying transfers seamlessly.”
- Understanding DTF: An Overview of Direct-To-Film Printing
- Preparing the Design for Print: File Format and Resolution Requirements
- Choosing the Right Film Type for Your Project
- Setting Up Your Printer and Workspace for DTF
- The Printing Process: From Setup to First Run
- Post-Printing Steps: Curing, Cutting, and Applying Transfers
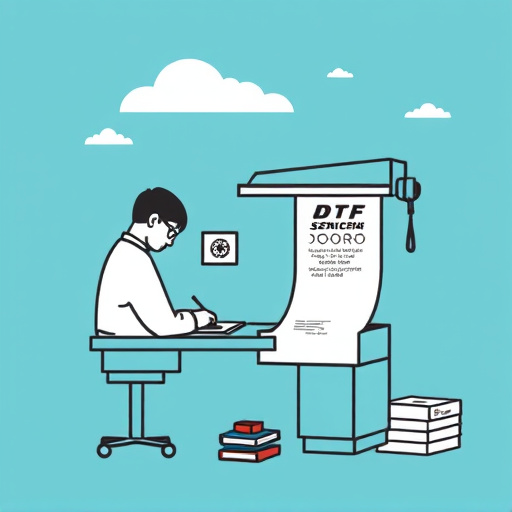
Understanding DTF: An Overview of Direct-To-Film Printing

Direct-To-Film (DTF) printing is a cutting-edge process that allows designers and creators to bring their artwork directly onto special film for easy transfer to various materials. This innovative method eliminates the need for traditional printing presses, offering a more efficient and versatile solution. With DTF, intricate designs can be precisely replicated on films, making it ideal for custom apparel, signage, and even home decor projects.
The process involves advanced printing technology that deposits ink directly onto the film’s surface, ensuring excellent color accuracy and sharp details. This modern approach streamlines production time and reduces waste, as designers can easily make adjustments and revisions digitally before printing. DTF has revolutionized the way we approach custom printing, making it accessible to a wide range of creators and businesses.
Preparing the Design for Print: File Format and Resolution Requirements
When preparing a design for printing on special film for transfers, or Direct-to-Film (DTF), it’s crucial to ensure the file format and resolution meet specific requirements. The most common file formats accepted by DTF printers are SVG, JPEG, and PNG. Among these, SVG offers the best flexibility and quality, as it is a vector-based format that can be scaled without losing sharpness. For optimal printing, designs should be saved at a minimum resolution of 300 DPI (dots per inch). This ensures that the final transferred image is crisp and detailed, suitable for various applications like clothing, mugs, or other items.
Additionally, it’s essential to pay attention to color modes and transparency settings. For DTF printing, CMYK color mode is typically used as it accurately represents the colors when printed. Transparency should be set correctly within the design software to avoid any issues during the printing process. Proper preparation of these aspects guarantees a high-quality end product, ensuring that the design is vibrant and accurately transferred onto the special film for subsequent applications.
Choosing the Right Film Type for Your Project
When embarking on a design transfer project, selecting the appropriate film type is a pivotal step. The right film ensures optimal results and can make all the difference in the final product’s quality. For instance, Direct to Film (DTF) printing offers a straightforward and efficient method, suitable for various applications like signage, decorations, and even apparel. DTF films are designed to accept ink directly, providing vibrant colors and crisp details.
Different film types cater to specific needs. Consider factors such as material, durability, and intended use. For outdoor signage, durable, weather-resistant films are essential. In contrast, for temporary decorations or craft projects, a more versatile and cost-effective option might be preferred. Understanding the project requirements allows for an informed choice, guaranteeing satisfying outcomes.
Setting Up Your Printer and Workspace for DTF

To start the DTF (Direct to Film) process, setting up your workspace and printer is crucial. Begin by clearing a dedicated area for your project, ensuring it’s well-lit and organized with all necessary materials within easy reach. This includes preparing your cutting mat or film bed, placing your printer securely, and connecting it to a stable power source.
Choose a suitable printer with high-resolution capabilities and compatible inkjet cartridges designed specifically for DTF printing. Calibrate your printer according to the manufacturer’s instructions, ensuring precise color accuracy and sharp detail reproduction. Load the special transfer film into your printer, following the guidelines provided by the manufacturer to achieve optimal results in your DTF transfers.
The Printing Process: From Setup to First Run
The printing process for designing on special film for transfers, often using Direct-To-Film (DTF) technology, begins with meticulous setup. This involves preparing the print head, loading the specific film type into the machine, and calibrating settings based on the design’s requirements. The print head is aligned precisely to ensure accurate color replication and sharp details in the final output. Once ready, a test run is initiated to verify color accuracy and register—a critical step ensuring all elements of the design line up perfectly.
After these initial steps, the actual printing commences. Ink flows from the print head onto the special film, layer by layer, as directed by the digital design. This meticulous process allows for intricate details and vibrant colors, characteristic of high-quality transfers. The first run is crucial; it sets the baseline for the entire batch, ensuring consistency across all subsequent prints.
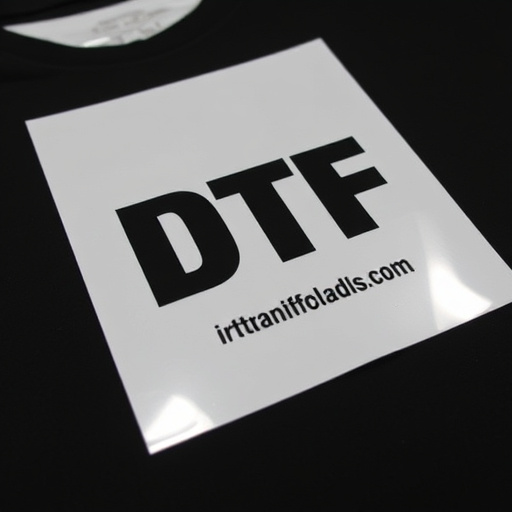
Post-Printing Steps: Curing, Cutting, and Applying Transfers

After printing your designs on special film, the process moves onto crucial post-printing steps to ensure optimal results in the final transfer. Curing is the first step, where the printed film is exposed to heat or light to set the ink and prevent smudging or fading. This is particularly important for DTF (Direct to Film) printing methods, which offer vibrant colors and durability.
Once cured, the film is ready for cutting, a meticulous process that involves precision trimming around the design to create individual transfer pieces. These cuts must be exact to ensure clean edges when applied to various surfaces. Following cutting, the transfers are carefully applied to the desired substrate, whether it’s fabric, wood, or other materials. This step requires careful handling to maintain the integrity of the design and achieve a seamless finish.