


Direct-to-film (DTF) printing revolutionizes design transfer with cutting-edge precision and vibrancy, eliminating intermediate steps in production. To achieve optimal results, choose vector formats like AI or EPS for intricate designs, maintain 300 DPI resolution, and match sRGB/CMYK color spaces. Select suitable film types based on surface compatibility and desired finish for clothing transfers, signage, or art projects. Set up a dedicated workspace with calibrated settings and proper ventilation. The DTF process involves printing, curing, cutting, and precise application to ensure vibrant colors and sharp details in final products.
“Unleash your creativity with the captivating world of DTF (Direct-to-Film) printing. This innovative process transforms designs into vibrant, high-quality transfers, perfect for a range of projects. From understanding the technology behind it to selecting the ideal film and mastering the printing procedure, this comprehensive guide covers everything. Learn how to prepare your design, set up your workspace, and navigate the entire DTF printing process, from initial setup to applying the transfer. Discover the secrets to achieving exceptional results with DTF Prints.”
- Understanding DTF Prints: An Overview of Direct-to-Film Printing Technology
- Preparing Your Design for Printing: File Format, Resolution, and Color Profile Considerations
- Choosing the Right Film Type for Your Project
- Setting Up Your Printer and Workspace for DTF Printing
- The Printing Process: From Setup to Output
- Post-Printing Steps: Curing, Cutting, and Applying the Transfer to Your Substrate
Understanding DTF Prints: An Overview of Direct-to-Film Printing Technology
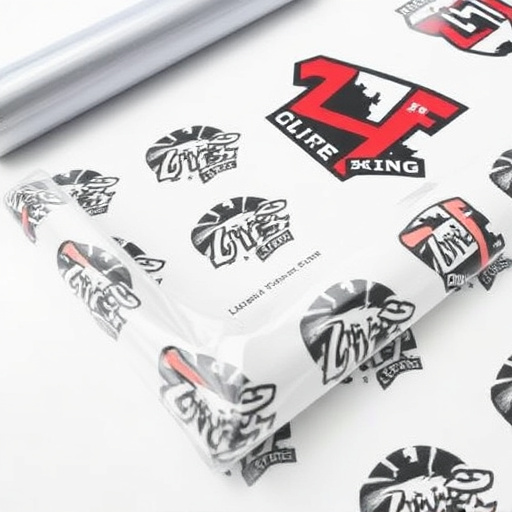
Direct-to-film (DTF) printing is a cutting-edge technology that has revolutionized the way we approach design transfer. This innovative process involves printing designs directly onto special film, which then serves as a medium for transferring those designs to various surfaces. Unlike traditional methods, DTF prints offer unparalleled precision and vibrancy, making it ideal for a range of applications from clothing customization to signmaking.
The beauty of DTF Prints lies in its versatility. The technology enables the reproduction of intricate details with remarkable accuracy, ensuring that every line, shade, and color is faithfully transferred. This direct printing method also eliminates the need for intermediate steps, streamlining the production process and reducing potential errors. As a result, DTF prints have gained immense popularity among professionals and hobbyists alike, who appreciate the convenience, speed, and superior quality it offers.
Preparing Your Design for Printing: File Format, Resolution, and Color Profile Considerations
When preparing your design for printing DTF (Direct-to-Film) prints, selecting the right file format is crucial. Vector formats like AI or EPS are ideal as they offer high-quality lines and shapes, ensuring crisp details in your final transfer. Raster formats such as JPEG or PNG should be used with caution, as they can introduce artifacts and pixelation at higher magnifications. Aim for a minimum resolution of 300 DPI (dots per inch) to capture intricate details accurately.
Color profiles play a significant role too. Ensure your design software and printing system use matching color spaces like sRGB or CMYK. This consistency ensures that the colors on your screen reflect what will be printed on the film, minimizing unexpected discrepancies. Proper preparation in these areas sets the stage for accurate and vibrant DTF prints, enhancing the overall quality of your transfer designs.
Choosing the Right Film Type for Your Project
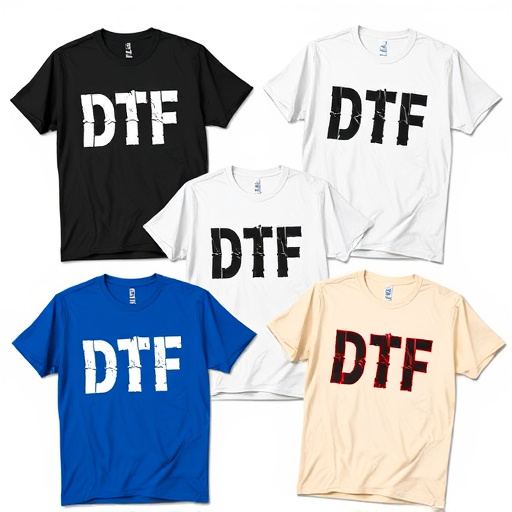
Choosing the right film type is a crucial step in the DTF (Direct-to-Film) printing process, as it directly impacts the final outcome of your design. Different films are suited for various applications and project requirements. For instance, if you’re creating transfers for clothing, a heat-applicable film is ideal as it adheres well to fabric. In contrast, for signage or decorative purposes on smooth surfaces like acrylic or wood, consider a water-based or UV-curable film that offers vibrant colors and durability without the need for heat activation.
When selecting your film, consider factors such as the desired finish, color accuracy, surface compatibility, and environmental conditions where the print will be displayed or used. Each film type has its strengths and limitations, so understanding these aspects will help ensure you achieve the best results for your specific project, whether it’s a pop-art-inspired T-shirt design or a sophisticated architectural sign.
Setting Up Your Printer and Workspace for DTF Printing

Setting up your workspace and printer for DTF (Direct-to-Film) printing is a crucial step to ensure optimal results. Begin by clearing a dedicated area, equipped with ample space for your materials and equipment. This includes your printer, cutting mat, film rolls, and any necessary tools like scissors or a roller. Position your printer securely, ensuring it’s connected to a stable power source and your computer via USB or wireless connection. Calibrate the printer settings specifically for DTF printing, selecting the appropriate resolution and color profile to capture intricate design details.
A clean and organized workspace streamlines the printing process. Ensure proper ventilation, as some materials may emit fumes. Prepare your film rolls by unrolling them slightly to avoid wrinkles and ensure easy access during printing. Position the film on the cutting mat, aligning it precisely with the printer’s output. This meticulous setup ensures that every element is in place for accurate and high-quality DTF prints.
The Printing Process: From Setup to Output
The printing process for DTF (Direct to Film) prints involves several precise steps, ensuring high-quality outcomes. It begins with the setup stage, where specialized printers are calibrated and the desired design is loaded onto the machine. This includes configuring color profiles, resolving image quality, and adjusting print settings tailored to the specific film type. Once prepared, the printer lays down precise layers of ink, carefully mapping out the design on the film. The key lies in achieving optimal ink-film interaction for vibrant colors and sharp details.
As the printing progresses, the film advances through the printer, layer by layer, until the entire design is rendered. Post-printing involves careful inspection to verify accuracy and color consistency. Any imperfections are rectified promptly to maintain the integrity of the final product. The output is then ready for the next stage in the transfer process, ensuring a seamless transition from print to application.
Post-Printing Steps: Curing, Cutting, and Applying the Transfer to Your Substrate
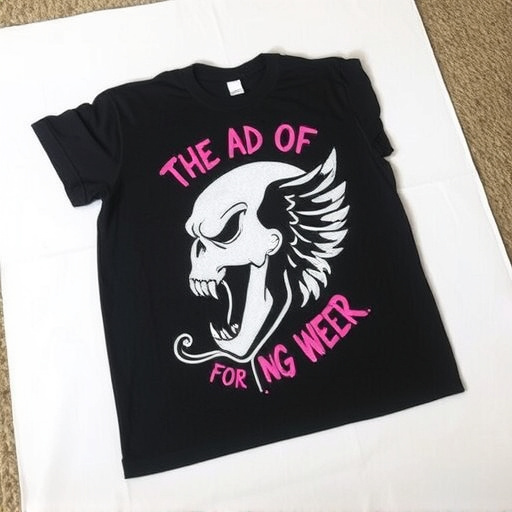
After printing your designs on special film, the process moves onto crucial post-printing steps to ensure the final product is of high quality. Curing is the first step, where the printed film is exposed to heat or UV light to set the inks and ensure long-lasting durability. This is especially important for DTF Prints, as it guarantees vibrant colors and precise details on the substrate.
Next, cutting involves carefully trimming the excess film around the design. This meticulous process allows for clean edges when applying the transfer to your desired substrate. Once cut, the transfer can be applied using a heat press or other suitable methods. The application should be done with precision to avoid bubbles or misalignments, ensuring the design is seamlessly integrated into the final product.