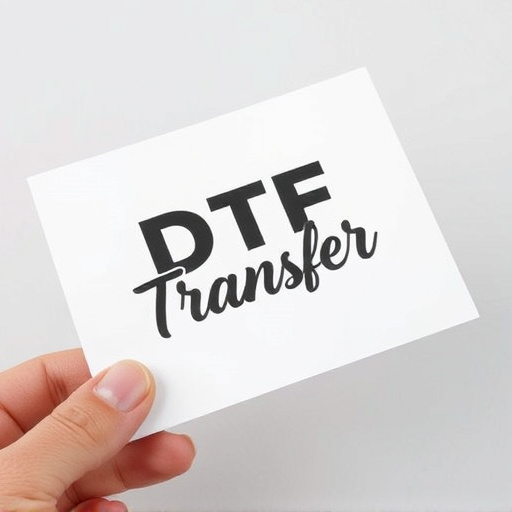


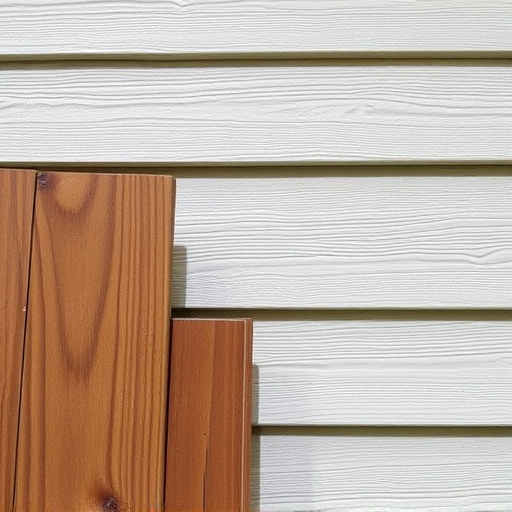

Direct to Film (DTF) printing is a cutting-edge custom printing method using advanced inkjet technology. It involves printing designs onto special film, curing it, and then applying heat and pressure for permanent bonding to surfaces like textiles and metal. Essential materials include a reliable DTF printer, films of varying thicknesses, high-resolution inkjet printers, DTF-specific inks, and safety gear. Preparing a design requires high-resolution vector graphics, meticulous creation or editing in graphic software, and testing on a mockup. The process involves the print head depositing ink layer by layer, followed by curing, cutting the film precisely, and transferring it to surfaces using heat and pressure for vibrant, durable DTF prints. Key factors include high-resolution designs (300 DPI), clean lines, appropriate transfer films, dust-free workspace, equipment cleaning, and consistent pressure during printing.
Discover the art of DTF (Direct to Film) transfer printing—a game-changer for creating vibrant, high-quality designs on various surfaces. This comprehensive guide unravels the process, from understanding the fundamentals to mastering post-printing techniques. Learn about the materials essential for successful DTF printing and explore design preparation tips. Get ready to dive into the step-by-step printing process, uncover best practices, and elevate your craft with these expert insights on achieving exceptional DTF transfers.
- Understanding DTF Transfer: An Overview of the Process
- Materials Required for DTF Printing: What You Need to Get Started
- Preparing Your Design for DTF Transfer: Techniques and Considerations
- The Printing Process: Step-by-Step Guide to DTF Prints
- Post-Printing Procedures: Curing, Cutting, and Applying the Film
- Best Practices and Tips for Achieving High-Quality DTF Transfers
Understanding DTF Transfer: An Overview of the Process
The Direct to Film (DTF) transfer process is a cutting-edge technique revolutionizing the way we apply designs to various surfaces, particularly in the realm of custom printing. This innovative method eliminates the need for traditional screen printing or heat pressing by directly printing onto special film, which subsequently transfers the design to a desired material. The DTF transfer process involves several precise steps: first, the graphic design is prepared and printed on a high-quality, transparent film using specialized DTF printers. These printers use advanced inkjet technology to lay down precise layers of ink, ensuring intricate details and vibrant colors.
Once the film is printed, it’s carefully laminated with a protective coating, making it ready for transfer. The process continues with the application of heat and pressure, which causes the ink to bond permanently with the underlying material. This method allows for a wide range of printable surfaces, including textiles, plastics, and even metal, enabling creators and businesses to produce unique, high-quality designs with speed and efficiency. DTF Printing offers an unparalleled level of detail and color accuracy, making it a favorite among professionals who demand exceptional results.
Materials Required for DTF Printing: What You Need to Get Started

To start your journey in DTF (Direct to Film) printing, there are several key materials you’ll need to gather. This process involves specialized equipment and specific consumables for high-quality DTF transfer results. First, invest in a reliable DTF printer, which is the heart of your setup. These printers use inkjet technology to apply design inks directly onto a film, offering precise color reproduction and fine detail.
Complementing your printer, you’ll require DTF transparent films, usually available in various thicknesses and adhesive strengths. These films are designed to accept inkjet prints and withstand the heat during the transfer process. Additionally, a quality inkjet printer with excellent resolution is essential, as it ensures sharp DTF prints that will look vibrant on various materials. You’ll also need inks specifically formulated for DTF printing, offering exceptional adhesion and durability. Lastly, consider protective gloves and a well-ventilated space to ensure safety during the setup and printing process.
Preparing Your Design for DTF Transfer: Techniques and Considerations
Preparing your design for a Direct to Film (DTF) transfer involves a meticulous process to ensure optimal results. Start by ensuring your design is in a high-resolution format, typically vector graphics like SVG or DXF, as this allows for precise details and scalability without pixelation. Use graphic design software to create or edit your artwork, paying close attention to line work, fills, and text clarity.
Consider the overall layout and composition, keeping in mind that DTF printing requires registration precision. Avoid intricate blends or subtle gradients within small areas as these can be challenging to reproduce accurately. Simplify complex elements if necessary, and test your design on a mockup or sample print to assess its feasibility for DTF transfer.
The Printing Process: Step-by-Step Guide to DTF Prints
The process of printing designs on special film for transfers, commonly known as DTF (Direct to Film) printing, involves several precise steps to ensure high-quality results. It begins with the creation or acquisition of a digital design that is optimized for the specific transfer material. This design is then prepared and ready for printing. The print head, akin to a tiny jet, precisely deposits ink onto the film, layer by layer, recreating the intricate details of the design.
Next, the printed film undergoes a curing process using UV light or heat to set the inks permanently. This step ensures the vibrancy and durability of the print. Once cured, the film is carefully prepared for cutting, often with the use of specialized software to ensure precise cut lines that perfectly align with the design elements. After cutting, the excess material is removed, leaving behind a precise negative of the design, ready for application onto various surfaces.
Post-Printing Procedures: Curing, Cutting, and Applying the Film
After the printing process is complete, several crucial steps are involved in preparing the film for successful DTF (Direct to Film) transfers. Curing is a vital stage where the ink is allowed to set and dry properly, ensuring long-lasting durability on various materials. This step is essential, especially when using specialized inks designed for DTF printing, as it prevents smudging or fading during subsequent handling.
Once cured, the film is meticulously cut to match the desired design and shape. Skilled technicians use precise cutting tools to achieve clean lines, ensuring each element of the DTF print is accurately separated. Following cutting, the film is carefully applied to the target surface, typically using heat and pressure. This application process requires careful alignment to guarantee a flawless transfer, creating vibrant DTF prints that can adorn a range of products from clothing to ceramics.
Best Practices and Tips for Achieving High-Quality DTF Transfers

Achieving high-quality DTF (Direct to Film) transfers requires attention to detail and adherence to best practices. Start by using high-resolution designs with clean lines and sharp corners; pixelation or blurry details can negatively impact the final print quality. When preparing your artwork, ensure it meets the minimum resolution requirements specified by your printer, typically 300 DPI (dots per inch) for optimal results.
Another crucial aspect is using the right materials. Opt for high-quality transfer film designed specifically for DTF printing, as these films offer better adhesion and durability. Cleanliness is paramount; keep your work area free from dust and debris to prevent contamination. Regularly clean your press and film to maintain consistency in your prints. Additionally, maintaining consistent pressure during the printing process ensures even ink distribution, leading to more vibrant and precise DTF prints.